PDi CRM allows for the attachment of documents from various sources to master records. Sales opportunities and tasks.
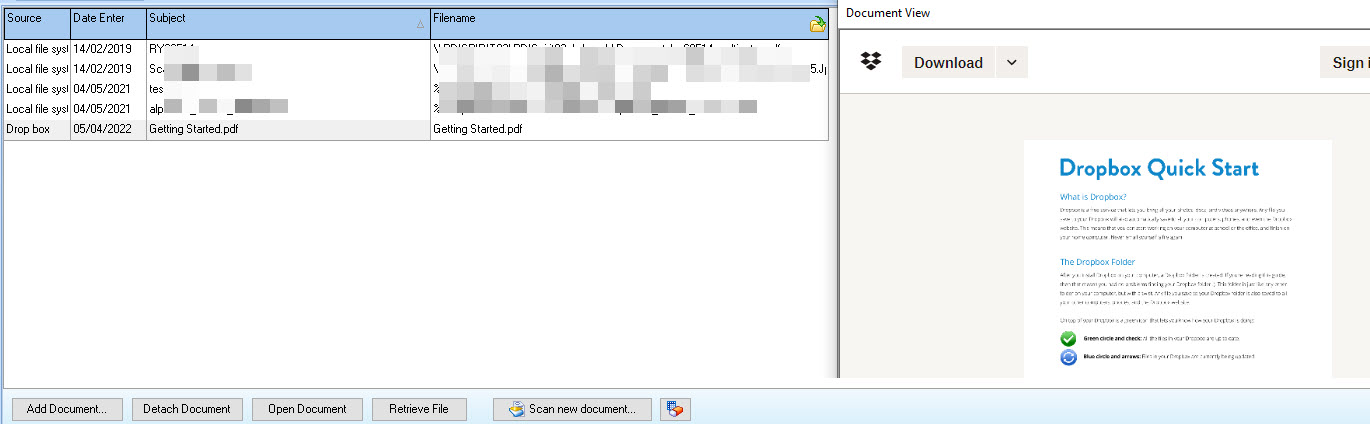
The document case screen is similar to the one shown below.
Add Document – will display the document attach screen as shown below. Multiple documents can be added to the current document case from the available sources.
The document screen gives access to the following file sources.
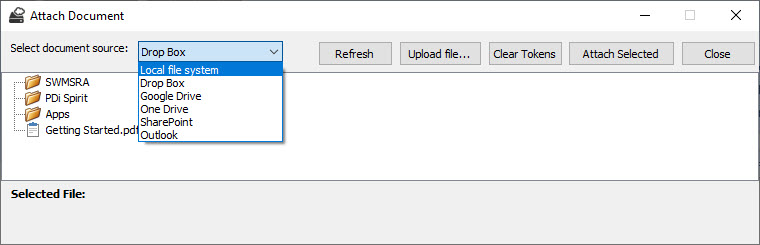
Local file system -your local network, local drives and shared folders by using the Select file button to load the open Windows dialogue.
Cloud sources – Dropbox, Google Drive, OneDrive – The first time you select a cloud source, you must supply your log-in details; this will retrieve, save and use the access tokens for future use.
The tree-view will load all the allowed folders and physical documents (short-cuts cannot be used).
Select the document and press the Attach Selected button to save the details to the document case.
SharePoint – Connection to SharePoint must be configured via the CRM Options and User Details screen. If configured correctly, your folders and documents will be loaded; select the document to attach.
Outlook – this will display all your Outlook message stores and allow you to navigate through available folders and attach messages to your document case.
NB: Currently, Google Drive API does not allow security log-in via an embedded browser. Any document added to a document case from Google drive must be viewed using the Open Document button or the Retrieve File button.
Detach Document – this will remove the document from the document case; the physical document itself will not be removed.
Open Document – this will open the document with the application associated with the document’s extension.
Retrieve File – if this document is from a cloud source, this will retrieve the document from the source.
Scanning a new document will allow a document to be scanned, cropped, and added to the document case.
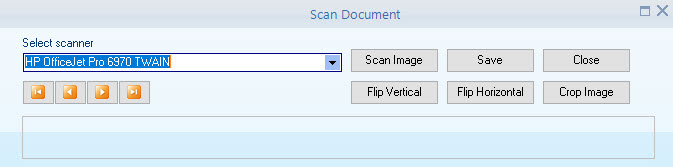
Scan image – start the scan process from the selected scanner source.
Save – save the scan to an image file.
Flip vertical – flip the scanned image on the vertical axis.
Flip horizontal – flip the scanned image on the horizontal axis.
Crop Image – crop the image to the selected area.